makes
5
prep
15 minutes
cook
30 minutes
makes
5
serves
preparation
15
minutes
cooking
30
minutes
Instructions
- In a medium pot, bring 300ml of water to the boil. Add a tablespoon of ghee to the water to prevent the dough from sticking to the pot.
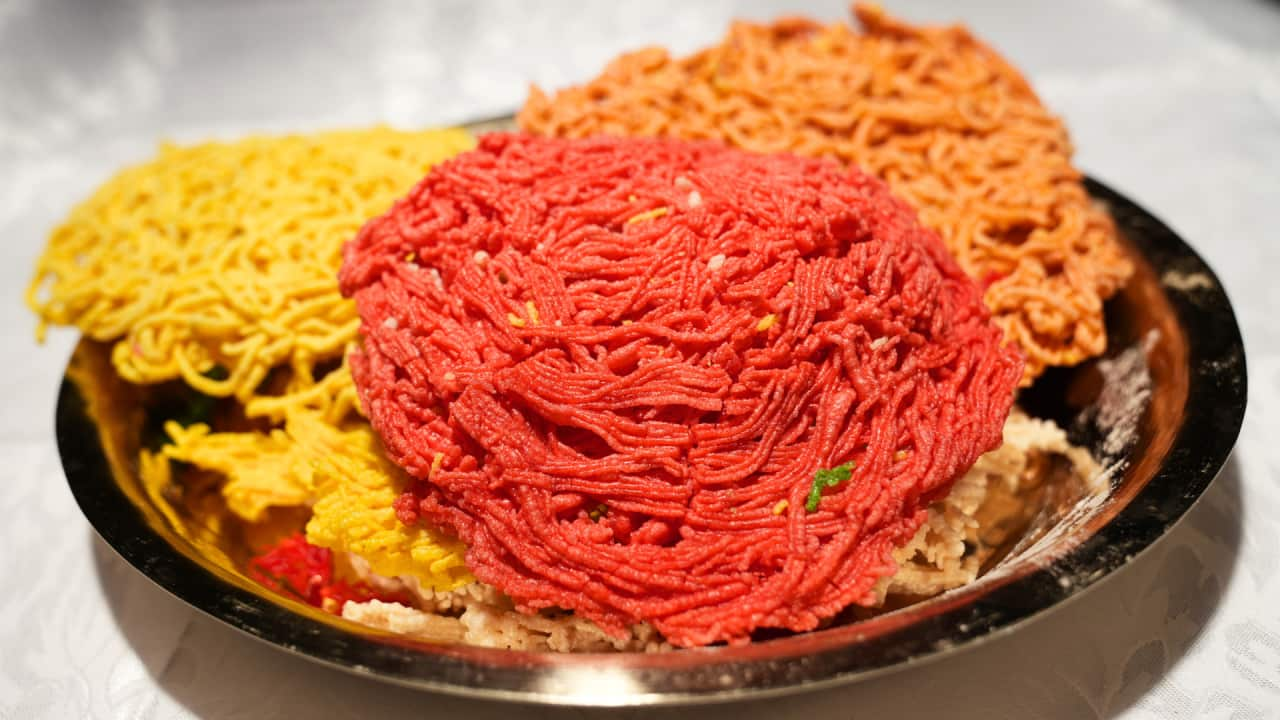
- Add two–three drops of your chosen food colouring to the boiling water. For example, red, green or yellow is commonly used, but you can choose any colour you like to make a vibrant Jhilinga Roti.
- Slowly add the rice flour to the boiling water, stirring continuously. Adding it gradually helps avoid lumps.
- Keep stirring until the mixture thickens into a smooth, non-sticky dough, which should take about two–three minutes.
- Remove the pot from the heat, cover it, and let the dough rest for about one minute. This resting period helps it set slightly, making it easier to handle.
- The Jhilinga maker is a cylindrical device with a lever that pushes the dough through a perforated plate known as ‘jaali’ to create thin, noodle-like strings. Choose a jaali that determines the shape and thickness of the Jhilinga Roti you want.
- Grease the inside of the Jhilinga maker with 1 tablespoon of ghee, ensuring that the dough doesn’t stick to the sides.
- While the dough is still warm, fill the Jhilinga maker cylinder with it and close the lid securely.
- Hold the Jhilinga maker over a plate or a flat surface lined with parchment paper and turn the lever clockwise to squeeze the dough through the jaali, creating thin strings.
- As the strings come out, carefully move the Jhilinga maker in a circular motion to form a round, netted roti shape.
- Repeat the process until you have used all the dough, creating multiple Jhilinga Rotis.
- Once that’s done, place the rotis out in the sun to dry for three–four days.
- The rotis are ready to fry after they become completely hard and brittle.
- To fry, heat enough oil over medium-high heat in a deep pan.
- Carefully drop one Jhilinga Roti into the hot oil. Fry for 30–45 seconds on each side, or until it turns crispy and golden.
- Once done, remove the roti from the oil and place it on a plate lined with paper towels to drain excess oil.
- Fry the remaining Jhilinga Roti in the same way and enjoy!
Cook's Notes
Oven temperatures are for conventional; if using fan-forced (convection), reduce the temperature by 20˚C. | We use Australian tablespoons and cups: 1 teaspoon equals 5 ml; 1 tablespoon equals 20 ml; 1 cup equals 250 ml. | All herbs are fresh (unless specified) and cups are lightly packed. | All vegetables are medium size and peeled, unless specified. | All eggs are 55-60 g, unless specified.
