serves
4-6
prep
35 minutes
difficulty
Mid
serves
4-6
people
preparation
35
minutes
difficulty
Mid
level
Ingredients
- 350 g (12 oz) ‘00’ flour
- 150 g (5½ oz) durum wheat semolina flour
- 1 tsp sea salt
- 65 g (2¼ oz) egg yolk (from about 3–4 eggs)
- 190 g (6¾ oz) whole egg (about 4 eggs)
Resting time: at least one hour, or overnight.
Instructions
- If using an electric mixer, place both flours and the salt in the bowl of a mixer fitted with the dough hook attachment. Make a well in the centre and add the egg yolk and whole egg. (I find it easiest to weigh the egg yolks in a clean bowl first and then add the whole eggs to the same bowl up to the total amount of eggs, which is 255 g (9 oz) for this recipe. The total amount of egg is the important part.) Mix on slow speed for 8–10 minutes, until you start seeing large crumbs forming and the dough starts coming together. Transfer the dough to a clean benchtop and knead by hand until it comes together. Don’t expect it to be really smooth, as this is a drier dough – it will come together more and get smoother in the rolling process.
- To make the dough by hand, combine both flours and the salt in a mixing bowl. Make a well in the centre and add the egg yolk and whole egg. Mix with a fork until just combined, then transfer to a clean benchtop and knead by hand for 6–8 minutes until the dough comes together.
- If the dough seems too dry and won’t come together, you can spray it a couple of times with your spray bottle of water – just be careful not to overdo it and make the dough too wet, since it will become more hydrated and softer as it rests.
- I like to shape the dough into a roughly rectangular block, rather than a ball, as I find it easier to feed through the pasta machine later. Wrap your dough really well in plastic film, making it as airtight as possible (at the restaurant we use a vacuum sealer).
- If you are planning to make your pasta straight away, let the dough rest for at least an hour at room temperature – but ideally refrigerate it overnight, then take it out a couple of hours before rolling and cutting to let it come back to room temperature.
- To make the rolling more manageable, it’s best to work with a relatively small amount of dough, so divide it in two before you start. (If you are not using all the dough at once, you can refrigerate the rest of it, tightly wrapped, for up to 3 days.)
- Rolling and folding the dough: Set up the pasta machine on a solid benchtop. Using your hands or a rolling pin, flatten the dough enough that it will go through the widest setting on the pasta machine, then pass it through the rollers two or three times, going down one notch each time.
- Bring both sides of the dough to the centre, so they meet in the middle, then fold in half to create four layers of dough.
- Roll the dough through the widest setting again, then repeat the folding and rolling process one more time – but this time bring one third of the dough into the centre, laying it over the middle third, then cover with the last third to create three layers.
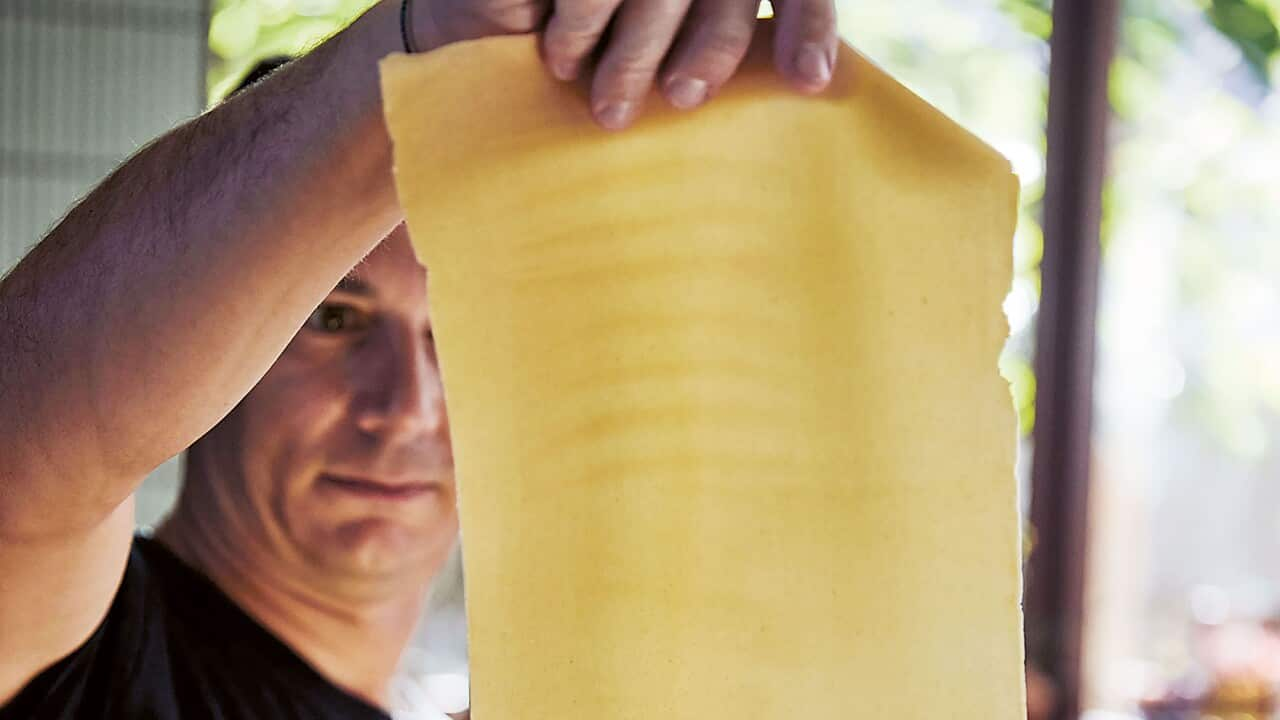
- Flatten the dough again, so that it will go through the widest setting on your machine, then pass it through the rollers, going down one notch at a time; it should be smooth by now and starting to become elastic. Keep going until the pasta sheets are the thickness you need: for filled pasta, you want a 1–1.5 mm (1/16 inch) thickness, and for long and short shapes, 2–3 mm (1/8 inch).
- Cutting and shaping the dough: For long pasta (such as spaghetti and tagliatelle), the sheets are cut into strips using the cutter attachment on your pasta machine (if it has one) or a sharp knife.
- For shaped pasta (such as ), the sheets are cut into squares with a pasta wheel and then formed into shapes.
- For filled pasta (such as tortelloni and ravioli), the sheets are also cut into squares or circles before being filled and sealed.
- And for more rustic kinds of pasta (such as fusilli al ferretto and orecchiette), the dough is not machine-rolled into sheets at all, but simply shaped by hand.
Note
- Notice that I give the quantity of egg and egg yolk as a weight together with an estimate of how many eggs you'll need to get this exact amount: just crack the eggs into a bowl and lightly mix with a fork before weighing out the amount you need. This is important because weight is more accurate than volume and eggs vary in size so much.
- Be aware that this dough tends to take longer to come together and will have more 'crumbs' when you make it than a regular dough.
Recipe and image from by Andreas Papadakis, photography by Mark Roper, illustrations by Robin Cowcher (Murdoch Books, HB$49.99).
Cook's Notes
Oven temperatures are for conventional; if using fan-forced (convection), reduce the temperature by 20˚C. | We use Australian tablespoons and cups: 1 teaspoon equals 5 ml; 1 tablespoon equals 20 ml; 1 cup equals 250 ml. | All herbs are fresh (unless specified) and cups are lightly packed. | All vegetables are medium size and peeled, unless specified. | All eggs are 55-60 g, unless specified.


